
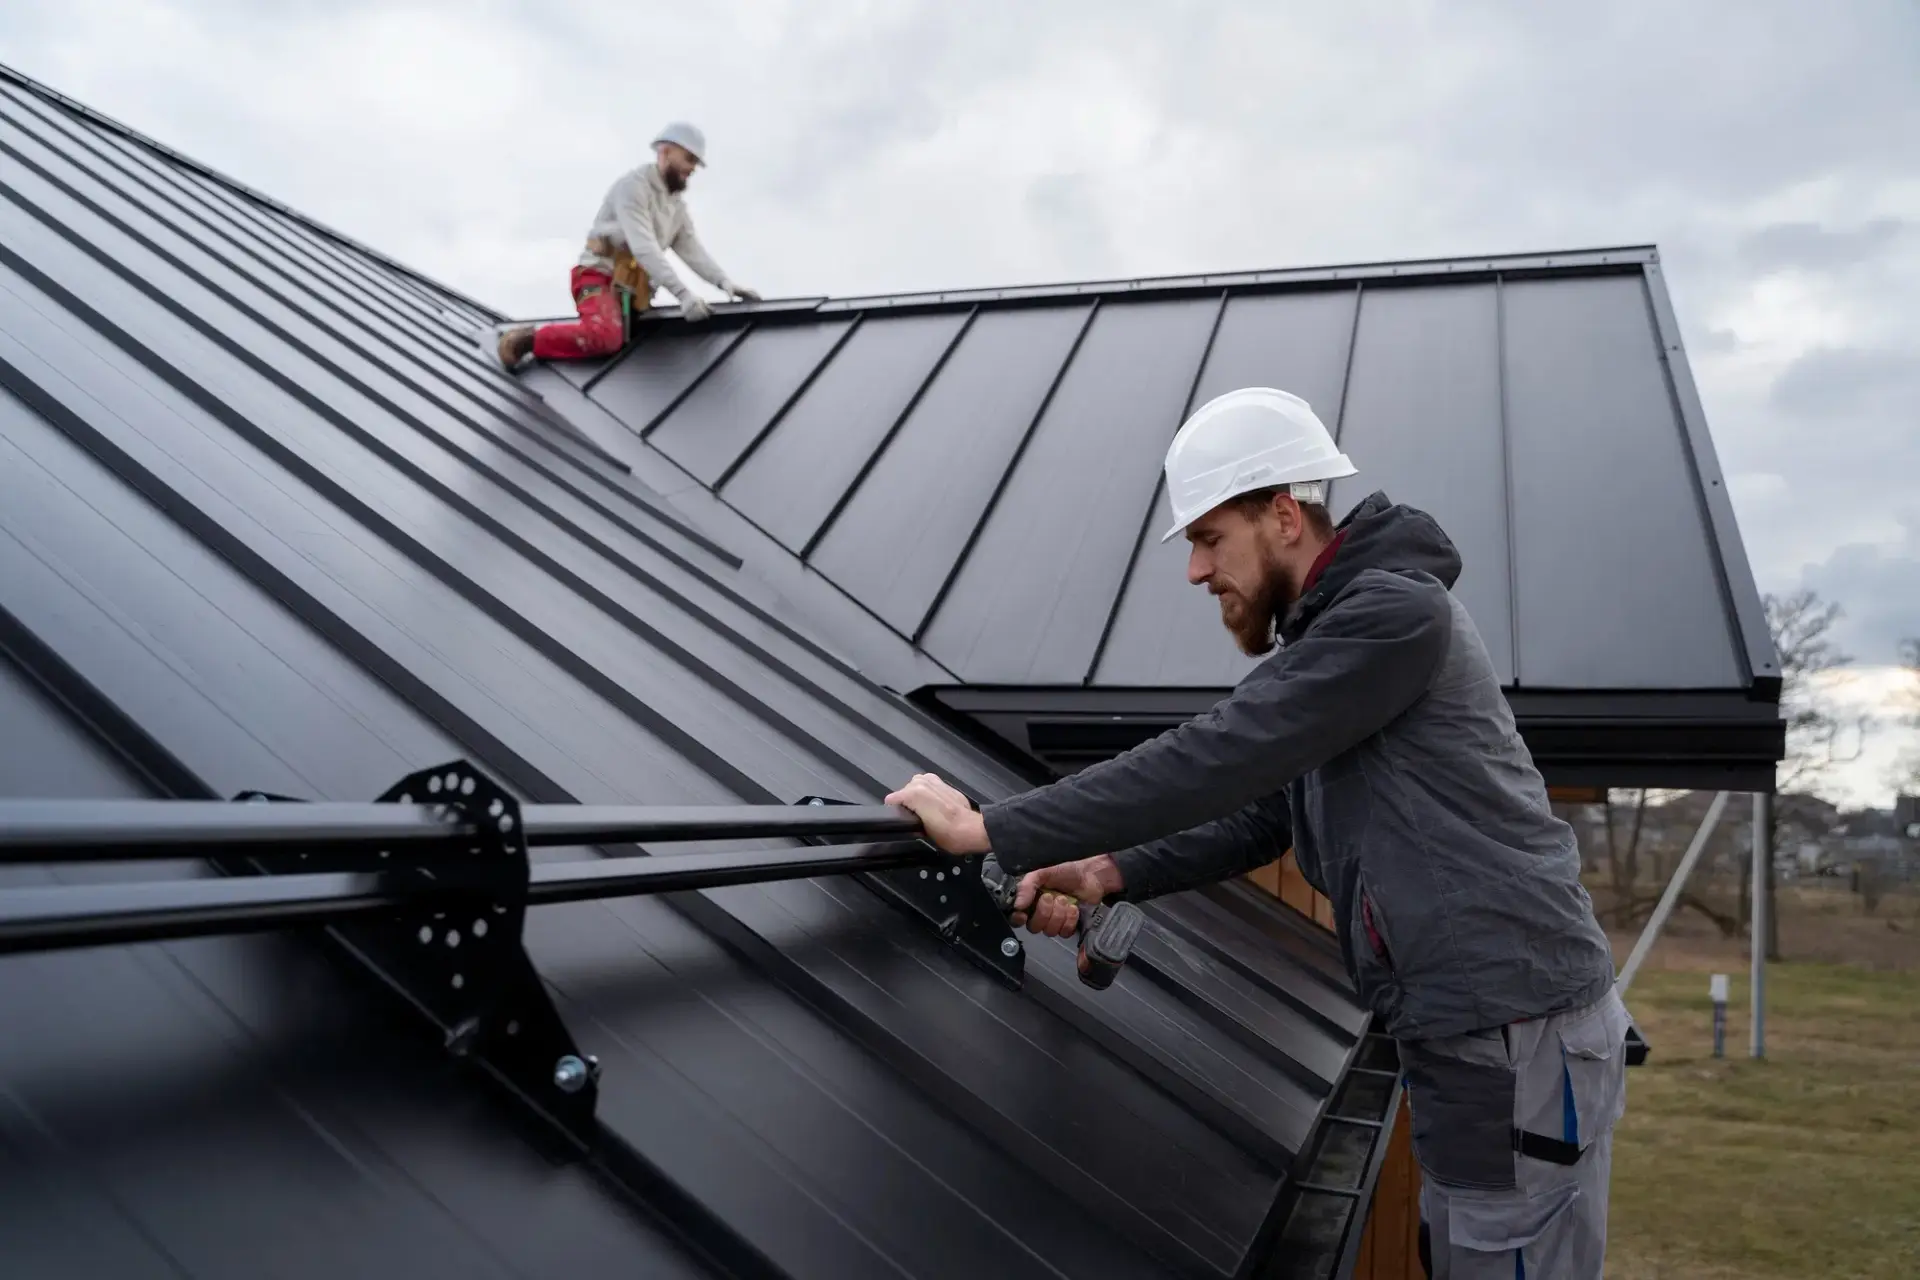
Flashing Failure Troubleshooting Guide
Professional flashing failure solutions from experienced roofing contractors near you in Massachusetts
Step-by-Step
1
Identify Flashing Locations
Locate all flashing on your roof: around chimneys, vents, skylights, valleys, wall intersections, and roof transitions. These are the most common areas for leaks due to flashing failure.
2
Visual Inspection
Look for signs of flashing damage: rust, corrosion, gaps, lifting edges, missing sections, or improper installation. Pay special attention to sealant failure around flashing edges.
3
Water Test
On a dry day, have someone spray water above suspected problem areas while you check inside for leaks. Start low and work upward to pinpoint exact failure points.
4
Check Fasteners
Examine fasteners used to secure flashing. They should be properly sealed and not backing out. Exposed nail heads are common entry points for water.
5
Assess Material Compatibility
Verify that flashing materials are compatible with surrounding roofing materials. Some metal combinations can cause galvanic corrosion that accelerates deterioration.
⚠️ Safety Warning
Flashing repair often requires removing and replacing surrounding roofing materials, which can cause additional damage if done incorrectly. Professional roofers understand the complex water management principles behind proper flashing installation and have specialized tools for working with different flashing materials.
Identify Flashing Locations
Locate all flashing on your roof: around chimneys, vents, skylights, valleys, wall intersections, and roof transitions. These are the most common areas for leaks due to flashing failure.
Visual Inspection
Look for signs of flashing damage: rust, corrosion, gaps, lifting edges, missing sections, or improper installation. Pay special attention to sealant failure around flashing edges.
Water Test
On a dry day, have someone spray water above suspected problem areas while you check inside for leaks. Start low and work upward to pinpoint exact failure points.
Check Fasteners
Examine fasteners used to secure flashing. They should be properly sealed and not backing out. Exposed nail heads are common entry points for water.
Assess Material Compatibility
Verify that flashing materials are compatible with surrounding roofing materials. Some metal combinations can cause galvanic corrosion that accelerates deterioration.
⚠️ Safety Warning
Flashing repair often requires removing and replacing surrounding roofing materials, which can cause additional damage if done incorrectly. Professional roofers understand the complex water management principles behind proper flashing installation and have specialized tools for working with different flashing materials.
Need Professional Help?
Contact our certified contractors for comprehensive inspection and repair services.
Get Free InspectionWhen to Call Professional Contractors
Explanation of situations that require professional intervention rather than DIY solutions.
- When the problem persists after basic troubleshooting
- If specialized tools or equipment are required
- When the issue affects structural components
- If the problem involves electrical or plumbing systems
- When proper repair requires permits or code compliance
- If the issue might be covered by insurance or warranty
Why Choose Local Massachusetts Contractors
Working with local Massachusetts contractors who specialize in flashing failure issues offers several advantages. They understand the unique weather challenges in New England, are familiar with local building codes, and can respond quickly to emergencies. Our team has been serving Massachusetts homeowners for over 16 years, providing reliable solutions for all flashing failure problems.
Ready for Professional Help?
Contact our certified contractors for comprehensive inspection and repair services.
Get Free Inspection