
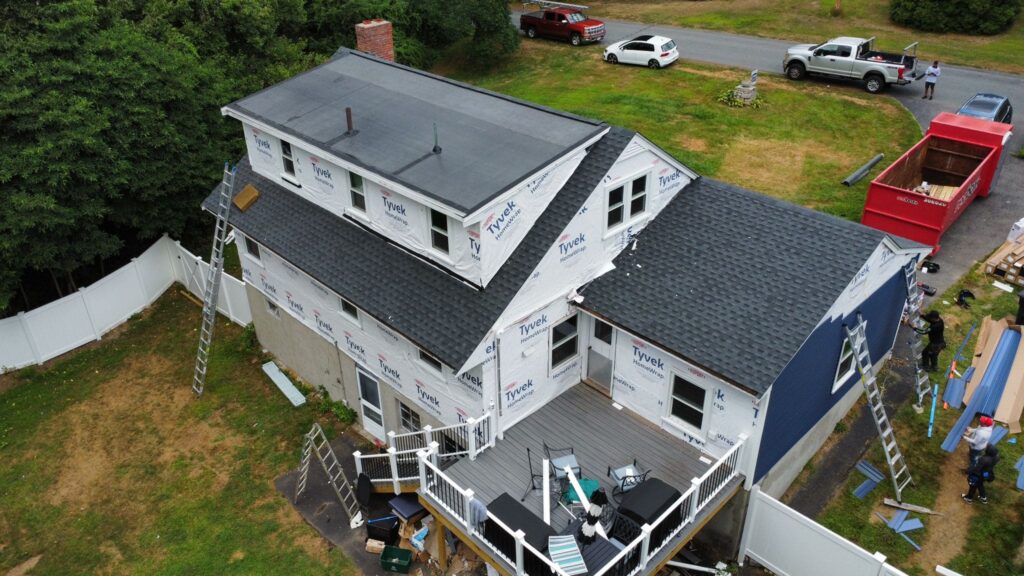
In the world of residential roofing, few areas are as vulnerable to water intrusion as the intersection where a sloped roof meets a vertical wall. Whether it is a dormer, a second-story wall, or a chimney, these joints must be armored with high-quality flashing. Without it, the “run-off” from the roof will seep into the wall cavity, leading to hidden rot, mold growth, and structural degradation.
Quick Answer: Step Flashing + Counter Flashing Create a Waterproof Seal
To achieve a truly professional, U.S. code-compliant seal against a wall, you must use a two-part system: Step Flashing and Counter Flashing. Step flashing is integrated into the shingles to catch water, while counter flashing (or “cap” flashing) is embedded into the wall to cover the top of the step flashing. This dual-layer approach ensures that water moving down the wall or across the roof is successfully diverted away from the seam.
Why roof-to-wall areas fail without proper flashing
Water follows the path of least resistance. During heavy rain, a roof acts as a collection plane, sending thousands of gallons of water toward the walls. Without flashing, surface tension pulls this water into the gap between the roof deck and the wall sheathing. Because this area is often poorly ventilated, moisture that enters here rarely dries, leading to the rapid decay of the wooden framing members.
Types of Flashing Used Against Walls
Understanding the specific role of each component is vital for a successful installation.
Step flashing
Step flashing consists of individual L-shaped pieces of metal (usually 8 to 12 inches long). One “wing” of the L sits on the roof deck, and the other rests against the vertical wall. These are installed incrementally with each course of shingles.
Counter flashing
Counter flashing is the “shield” for the step flashing. It is installed on the wall surface and hangs down over the vertical wing of the step flashing. By overlapping the step flashing, it prevents water from getting behind the metal from the wall side.
Kick-out flashing at roof edges
Perhaps the most critical—and most often forgotten—component is the kick-out flashing (also known as starter flashing). This is a specially shaped piece installed at the very bottom of the roof-to-wall intersection. It “kicks” the water away from the wall and into the gutter, preventing water from running down the siding or getting behind the exterior finish at the roof’s edge.
Installation Process Explained
A successful installation requires a “bottom-up” approach to ensure every layer sheds water to the one below it.
Installing step flashing with shingles
- Preparation: Peel back siding or cut a reglet (groove) into masonry to accommodate the flashing.
- The First Step: Install a kick-out flash at the eave.
- The Sandwich Technique: Lay the first shingle. Place a piece of step flashing over it. Secure the flashing to the wall only (nailing to both the roof and the wall can cause the metal to buckle during thermal expansion).
- Repetition: Lay the next shingle over the first piece of flashing, then place the next piece of flashing. Continue this until you reach the top of the wall.
Securing counter flashing into masonry or siding
If the wall is masonry (brick or stone), a “reglet” or groove is typically cut into the mortar joint using a diamond-blade saw. The top edge of the counter flashing is inserted into this groove and secured with masonry fasteners or specialized wedges. If the wall has siding, the counter flashing (or the siding itself acting as a shield) must overlap the step flashing by at least 2 to 3 inches.
Sealing and water testing
Once the metal is mechanically fastened, apply a high-grade polyurethane sealant to the top of the counter flashing (the reglet joint). Avoid silicone, as it does not bond as well to masonry and asphalt over the long term. A water test with a garden hose—simulating a heavy downpour from the top of the roof—is the best way to verify the integrity of the seal before closing up the project.
Common Roof-to-Wall Flashing Failures
Missing kick-out flashing
This is the #1 cause of wall rot in modern U.S. homes. Without a kick-out, water follows the roof-wall line and pours directly into the wall’s insulation layer at the corner of the house. Over time, this rots the rim joist and the corner studs.
Caulk-only installations
“Flashless” installations rely entirely on a bead of caulk to bridge the gap between the roof and the wall. Because roofs move and vibrate, caulk will invariably crack within 12 to 24 months. If you see a large amount of roofing cement or caulk at a wall joint, it is often a sign of a failing or missing flashing system.
FAQs
Can flashing be installed over siding?
Technically, “apron” flashing can be installed over siding as a temporary repair, but for a permanent, professional installation, the siding must be removed or cut back. The flashing must sit against the wall sheathing (under the house wrap) to be truly effective.
Do you need flashing on all roof-to-wall joints?
Yes. Every instance where a roof slope meets a vertical wall requires flashing. This includes dormers, side walls, and even where a porch roof meets the main house.
How do I know if wall flashing is leaking?
Look for water stains on the interior ceiling near the wall, peeling paint on the exterior siding, or “soft spots” on the roof deck near the wall intersection. Often, the damage is internal, so an infrared moisture meter or a professional inspection is recommended.
Don’t let a minor gap lead to a major repair. Our specialized roofing team is expert in the intricate “step and counter” flashing techniques required to protect your home’s structural integrity. Whether you are seeing water spots or want a preventative inspection of your roof-to-wall joints, we provide durable, code-compliant solutions that stand up to the harshest weather. Contact us today for a professional evaluation and ensure your home is truly watertight!