
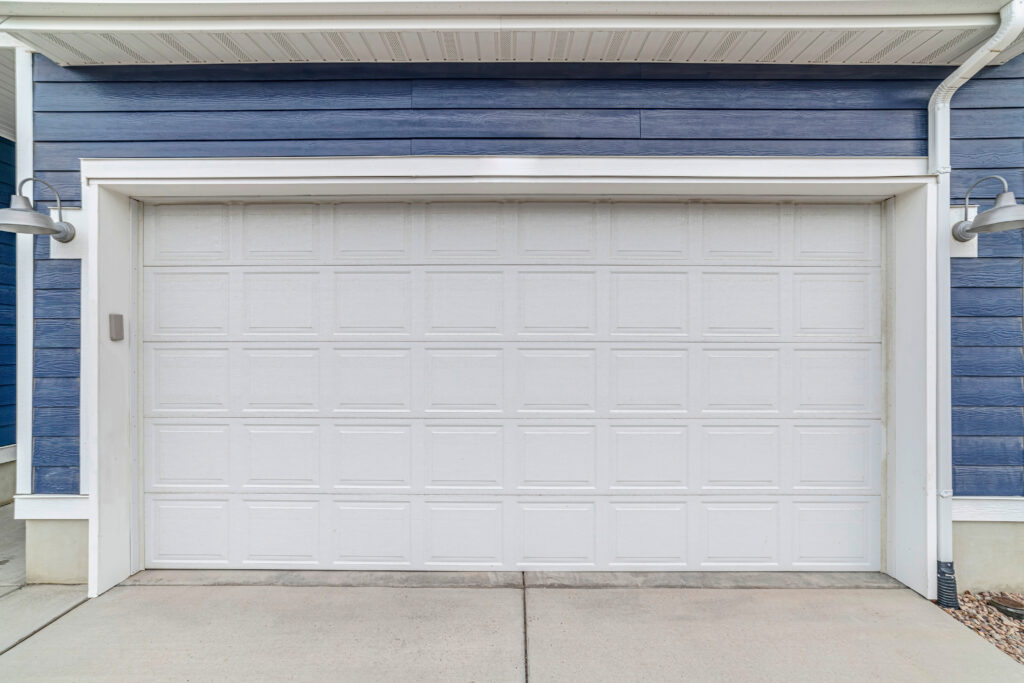
A garage door that refuses to close is one of the most common—and frustrating—home maintenance issues. In most cases, the culprit isn’t a broken motor or a snapped cable, but a pair of small, glowing electronic “eyes” near the floor. These photo-eye sensors are critical safety components designed to protect your family, pets, and vehicles, but they are also highly sensitive to environmental changes.
At Masterpiece Home Services, we prioritize safety and precision. Understanding how these sensors operate and how to troubleshoot them can save you an emergency service call and ensure your home remains secure.
Quick Answer: Most Sensor Issues Are Alignment or Dirt-Related
If your garage door starts to close and then immediately reverses—often accompanied by the motor light flashing ten times—the problem is almost certainly a sensor obstruction or misalignment. Before calling a technician, check for spiderwebs, dust on the lenses, or a slightly bumped sensor bracket. These simple fixes resolve over 80% of sensor-related failures.
Why sensors stop garage doors from closing
Since 1993, federal law (UL 325) has mandated that all residential garage door openers in the U.S. be equipped with a secondary entrapment protection system. If the sensors detect an object—or if they lose contact with each other—the system is programmed to “fail-safe” by preventing the door from closing. This prevents the door from exerting thousands of pounds of pressure on anything in its path.
How Garage Door Sensors Work
Safety Beam Explanation
Garage door sensors work in pairs: a sending sensor (transmitting eye) and a receiving sensor (receiving eye). The sending unit emits an invisible infrared light beam across the width of the garage opening.
- The “Handshake”: As long as the receiving eye “sees” this beam, the circuit remains closed, and the door is allowed to operate.
- The Interruption: If an object breaks the beam, or if the sensors are tilted so the beam misses the receiver, the circuit opens, triggering the safety reversal mechanism.
Common Failure Points
- LED Indicators: Most U.S. brands (like LiftMaster, Chamberlain, or Genie) feature small LED lights on the sensors. Typically, a solid green or amber light indicates a healthy connection, while a flickering or dark LED indicates a problem.
- Environmental Interference: Direct sunlight hitting the receiving lens can “wash out” the infrared signal, tricking the sensor into thinking the beam has been blocked.
- Vibration: Over time, the vibration of the door opening and closing can loosen the wing nuts holding the sensors in place.
Step-by-Step Sensor Troubleshooting
1. Cleaning Lenses
Because sensors sit just 6 inches above the garage floor, they are magnets for dust, dirt, and moisture.
- Action: Use a soft, dry microfiber cloth to gently wipe the glass lens on both the sending and receiving units.
- Pro Tip: Avoid using harsh chemicals or wet rags, which can leave a residue that further blurs the infrared beam.
2. Checking Alignment
The sensors must be pointed directly at one another. Even a 1/4-inch deviation can cause the system to fail.
- Action: Loosen the wing nut on the sensor bracket. Pivot the sensor until the LED light glows steadily without flickering.
- The String Test: For a perfect alignment, tie a string to one sensor and pull it across to the other. Use a level to ensure the string is perfectly straight and that both sensors are centered on the line.
3. Inspecting Wiring
Garage door wiring is often thin (20-22 gauge) and can be easily damaged by weed whackers, pets, or moving boxes.
- Action: Trace the white and white/black wires from the sensors up the wall to the motor unit. Look for “staple pinches” where the wire may have been crimped too tightly, or frayed sections where the copper is exposed.
- The Twist Test: Ensure the wire connections at the back of the sensors are tight. If the wires are corroded, strip them back and reconnect them to fresh copper.
When to Call a Professional
Electrical or Hardware Damage
If you see smoke, smell burning plastic near the motor, or find that the sensor LEDs are off even though the power to the house is on, you likely have a logic board failure. This requires professional testing of the circuit board inside the opener.
Repeated Sensor Failure
If you align your sensors and they fall out of alignment every few days, the issue may be track vibration. A technician needs to tighten the door tracks and ensure the “j-arm” is moving smoothly so that the vibration doesn’t shake the sensors loose during every cycle.
FAQs
Can weather affect garage door sensors?
Yes. Extreme temperature shifts can cause the metal tracks and brackets to expand or contract, slightly shifting the sensor alignment. Additionally, during winter, snow or ice buildup on the garage threshold can block the beam.
Is it safe to bypass sensors?
No. While most openers allow you to “force” the door closed by holding down the wall button constantly, this should only be done in an emergency. Bypassing safety features puts children and pets at extreme risk and may void your homeowner’s insurance in the event of an accident.
Do sensor issues relate to roof or structure movement?
Surprisingly, yes. In some cases, if a house is settling or if there is significant structural movement in the garage header, the tracks may shift. This structural “tweaking” can pull the sensor brackets out of their original plane, making it impossible to keep them aligned. If your sensors keep failing, it’s worth having a professional check the plumb and level of your entire garage frame.
Restore Your Home’s Safety and Convenience
A malfunctioning garage door is more than a nuisance; it’s a security risk. If cleaning and aligning your sensors hasn’t solved the problem, there may be a deeper electrical or structural issue at play.
Don’t leave your home’s largest entry point to chance. Contact Masterpiece Home Services today for a comprehensive 25-point safety inspection and sensor calibration!