
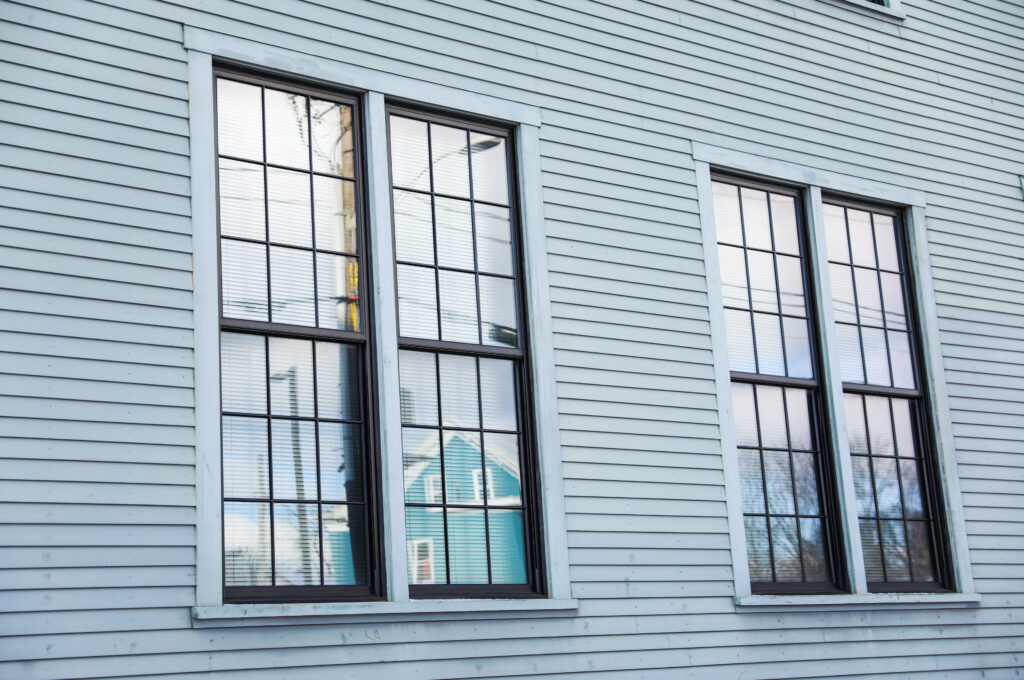
Installing a window is a high-stakes DIY project. While the process of physically setting the frame may seem straightforward, the real challenge lies in the “invisible” work: the waterproofing and flashing. A window that looks perfect from the curb can still allow moisture to seep into your wall cavities, leading to mold, structural rot, and damaged insulation.
At Masterpiece Home Services, we emphasize that a window is only as good as its installation. Here is what you need to know to get the job done right.
Quick Answer: Installation Errors Often Lead to Leaks
The most common reason for window failure isn’t a defect in the glass; it is a failure in the installation process. If the window isn’t perfectly level, or if the flashing is layered incorrectly, gravity will eventually pull water behind your siding and into your home’s framing.
Why window flashing is critical
Flashing is the “shingling” of the window opening. It consists of thin layers of waterproof material (tape or metal) that direct water away from the rough opening. If flashing is installed out of sequence—meaning the top layer isn’t over the bottom layer—it acts as a funnel rather than a shield.
Tools and Materials Needed
Before you remove your old window, ensure you have these essential items on hand to prevent leaving your home exposed to the elements overnight.
Measuring and Leveling Tools
- Tape Measure: Accuracy within 1/8th of an inch is required.
- 4-Foot Level: To ensure the sill and side jambs are perfectly straight.
- Combination Square: To check that the rough opening is “square” (90-degree corners).
- Shims: Cedar or plastic shims to adjust the window’s position within the opening.
Flashing and Sealants
- Flexible Flashing Tape: Used to seal the sill and the side flanges.
- High-Grade Exterior Caulk: OSI Quad or similar professional-grade sealant (do not use cheap interior caulk).
- Low-Expansion Spray Foam: Specifically labeled for “Windows and Doors” to prevent bowing the frame.
- Drip Cap: A metal L-shaped flashing that sits on top of the window.
Step-by-Step Window Installation Overview
1. Removing the Old Window
Carefully remove the exterior trim and any “fin” nails holding the old unit in place. Be cautious not to damage the existing house wrap or siding, as you will need to integrate the new flashing with these existing layers.
2. Preparing the Rough Opening
Clean the opening of all debris and old caulk. Inspect the “rough sill” (the bottom wood plate). If there is any soft or rotted wood, it must be replaced before the new window goes in. Apply a “sill pan” or flexible flashing tape across the bottom, extending it 6 inches up each side.
3. Installing, Flashing, and Sealing
- Set the Window: Place the window in the opening. Use shims to level it.
- Fasten: Drive screws through the installation flanges or through the frame (depending on window type).
- Flash: Apply flashing tape over the side flanges first, then install the drip cap at the top, and finally apply flashing tape over the top drip cap. This “bottom-to-top” layering ensures water always flows over the seams.
- Insulate: Fill the small gap between the window frame and the house framing with low-expansion foam.
Common DIY Mistakes
Improper Flashing
The most frequent mistake is “reverse lapping.” This happens when the top piece of flashing is tucked behind the bottom piece. Water running down the wall will hit that seam and go straight into the house. Always think like a raindrop: every layer must overlap the one below it.
Skipping Insulation
Many DIYers leave the gap around the window empty or stuff it with fiberglass batts. Fiberglass does not stop airflow; it only filters it. Using low-expansion spray foam creates an airtight seal that prevents drafts and significantly lowers energy bills.
FAQs
Can bad window installs damage roofing or siding?
Absolutely. Water that enters through a poorly installed window can travel along the wall studs and settle at the bottom of the wall, rotting out the “rim joist” or foundation plate. Furthermore, if the top flashing (drip cap) isn’t integrated correctly with the siding above it, moisture can get trapped behind the siding, causing it to warp or buckle.
How long does window installation take?
For an experienced DIYer, a single “insert” window (where the frame stays) takes about 2 hours. A “full-frame” replacement (where everything is removed to the studs) typically takes 4 to 6 hours per window, including exterior trim work.
When should you hire a professional?
You should call a professional if:
- Structural Rot is Found: If the wood framing around the window is rotted, it may require structural repairs.
- Upper Story Windows: Working from high ladders with heavy glass units is a significant safety risk.
- Tempered Glass Requirements: Codes require specific glass types near floor levels or bathrooms; a pro will ensure you stay compliant with local building codes.
Get a Leak-Free Guarantee
A window is a 30-year investment. If you aren’t confident in your ability to create a 100% waterproof seal, don’t risk your home’s structure. The experts at Masterpiece Home Services specialize in precision window installation and exterior envelope protection.
Want it done right the first time? Contact Masterpiece Home Services today for a professional window installation quote!