
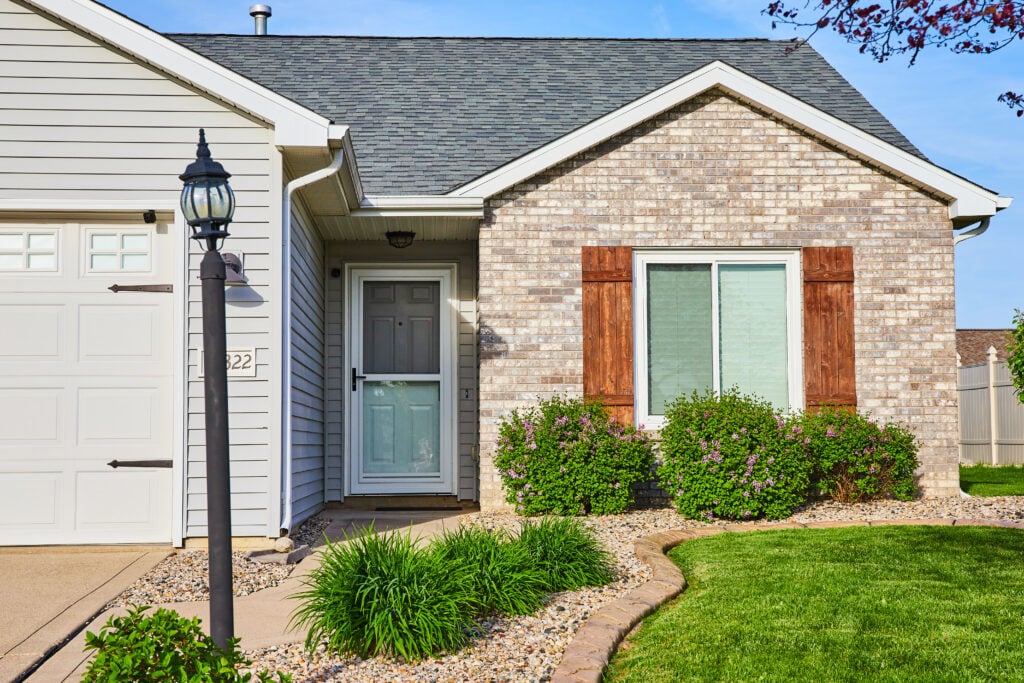
A storm door is a vital secondary barrier for your home, acting as a shield for your primary entry door against rain, ice, and wind. Beyond protection, a high-quality storm door adds an extra layer of insulation and provides versatile ventilation during the milder American seasons. However, the performance of the door is entirely dependent on the precision of its installation.
At Masterpiece Roofing, we view your home’s exterior as a complete defense system. Just as a roof protects from above, a storm door protects the “envelope” of your home at eye level. This guide outlines the professional standards for a secure, draft-free installation.
Quick Answer: Proper Measurement and Sealing Are Critical
A storm door that is even a fraction of an inch out of alignment will not close properly, leading to air leaks and mechanical wear. The goal is to create a tight seal around the entire perimeter while ensuring the door operates smoothly on its hinges.
Why Poor Installation Leads to Leaks and Drafts
If a storm door frame (the “z-bar”) is twisted or installed over an uneven surface, the weatherstripping will not make full contact with the door. This creates a “chimney effect” where cold air is pulled into the gap between your primary door and the storm door. Furthermore, poor sealing at the top of the frame can allow water to seep behind the trim, leading to hidden wood rot in your home’s door casing.
Tools and Materials Needed
Before beginning, ensure you have the following professional-grade tools:
Measuring Tools
- Tape Measure: Steel tape is required for accuracy.
- Level: A 2-foot or 4-foot level to ensure the door frame is perfectly plumb and the header is level.
- Combination Square: Useful for checking the corners of the existing door trim.
Fasteners and Hardware
- Drill/Driver: With a variety of bits (including a 1/8″ drill bit for pilot holes).
- Color-Matched Screws: Usually provided with the door kit, but ensure they are long enough to reach the structural studs.
- High-Grade Exterior Caulk: 100% silicone or a high-quality polyurethane sealant.
- Shims: Thin cedar or plastic shims to adjust the frame if the opening is slightly out of square.
Step-by-Step Storm Door Installation
1. Measuring the Opening
Most US storm doors come in standard widths (30″, 32″, and 36″). Measure the width of the door opening at the top, middle, and bottom. Then, measure the height on both the left and right sides. Use the smallest of these measurements when selecting your door. You are measuring the inside of the “brick mold” (the exterior trim), not the door itself.
2. Installing the Frame
- Check the Hinge Side: Most storm doors are “universal,” meaning you can choose which side the hinges go on. Typically, the storm door should open the same way as your primary door.
- Attach the Hinge Z-Bar: Position the hinge-side frame against the brick mold. Use your level to ensure it is perfectly plumb before driving any screws.
- Install the Header: The top piece of the frame should be installed with a slight “tilt” outward (if the design allows) or sealed heavily with caulk to prevent water from pooling on top.
3. Hanging and Adjusting the Door
- Set the Door: Lift the door into the hinges. Once secured, check the “reveal”—the gap between the door and the frame. It should be uniform all the way around.
- Adjust the Closer: Most doors feature one or two pneumatic closers. Adjust the screw at the end of the cylinder to control how fast the door shuts. It should close firmly enough to latch but not so hard that it slams.
Sealing and Weatherproofing
Caulking Tips
Apply a continuous bead of caulk along the top and sides of the door frame where it meets the house.
- Pro Tip: Never caulk the bottom expander or the “sweep.” This area is designed to allow any moisture that gets trapped between the doors to drain out. Blocking this with caulk can trap water and cause the door sill to rot.
Checking Airflow and Drainage
Once installed, check the bottom sweep. It should touch the threshold enough to block drafts but not so tightly that it drags or prevents the door from latching. Ensure the “weep holes” in the bottom of the frame are clear of debris so water can escape.
FAQs
Can you install a storm door yourself?
If you are comfortable using a drill and a level, it is a manageable DIY project. However, many American homes have settled over time, meaning door openings are rarely perfectly square. In these cases, a professional installer is recommended to custom-fit the door and ensure a proper seal.
Do storm doors help with energy efficiency?
Yes. A properly installed storm door creates a pocket of insulating air. In the winter, this reduces heat loss by as much as 25% to 50% through the entry door. In the summer, many storm doors feature low-E glass that reflects heat away from your home.
Should storm doors be installed before winter?
Installing a storm door before the first frost is highly recommended. It protects your primary door from the “freeze-thaw” cycles that can warp wood and crack paint. It also significantly reduces the “drafty” feeling often found in entryways during the coldest months.
Enhance Your Home’s Performance with Masterpiece Roofing
A storm door is a small investment that pays large dividends in comfort and protection. At Masterpiece Roofing, we specialize in the complete home exterior. Whether you are replacing a roof or upgrading your entryway protection, our team ensures that every component of your home is installed to withstand the toughest weather.
Ready to seal out the elements and improve your home’s efficiency? Contact Masterpiece Roofing today for a professional exterior consultation and estimate!