
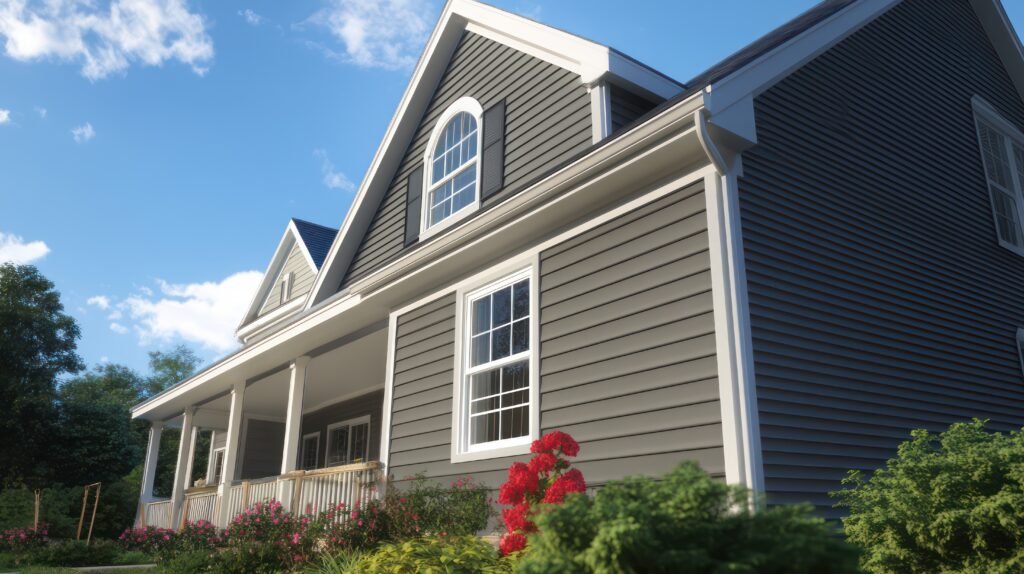
Vinyl siding is exceptionally durable and low-maintenance, but it is not impervious to damage. Impacts from strong winds, stray baseballs, or lawn equipment can crack a panel, and thermal stress from improper installation can cause unsightly buckling. Because vinyl expands and contracts significantly with temperature, patching or replacing a damaged section requires specific tools and techniques to avoid creating new damage.
Masterpiece Roofing provides seamless vinyl siding repair and replacement services, ensuring the repaired section is properly secured to allow for thermal movement.
Types of Damage That Require Patching
Understanding the cause of the damage helps determine the best repair method.
Cracked Panels from Impact or Age
Cracked vinyl is the most common damage requiring repair. If a single panel sustains a clean, small crack from an acute impact (such as a tree branch), a localized patch may be possible. However, if the crack spans multiple panels or is severe, the entire damaged panel should be replaced for a weather-tight finish.
Warping or Buckling from Improper Installation or Heat Expansion
Warping and buckling occur when the vinyl panel is nailed too tightly to the sheathing. This prevents the panel from contracting on cold days and expanding on hot days, causing it to push out in waves.
- The Fix: Fixing buckling often requires removing the tight nails and reinstalling the panel using the correct technique: nails should be centered in the slots and left slightly loose (a $1/32$ inch gap) to allow for free thermal movement. If the panel is severely distorted, it must be replaced.
Step-by-Step Patch Process
For vinyl siding, the “patch” process almost always means replacing the entire damaged strip rather than trying to fill or seal a crack, which is rarely a permanent solution.
Remove Damaged Panel or Section
- Release the Interlock: A specialized tool called a zip tool is used to unlock and release the bottom lip of the panel above the damaged section.
- Remove Fasteners: The nails holding the damaged panel in place are gently pulled out.
- Removal: Once fasteners are removed and the top lip is released, the damaged panel can be carefully pulled out.
Cut Replacement Panel, Snap into Place
- Measurement and Cutting: The replacement panel must be cut to the exact length of the old panel, keeping in mind the necessary $1/4$ inch clearance at the trim ends for thermal expansion.
- Fastening: The new panel is put in place, fastened with nails left slightly loose, and then the panel above is “zipped” back down over the top lock of the new panel using the zip tool.
Blend or Match Color to Existing Siding
When possible, use replacement vinyl from the original manufacturer or from siding that has been protected from the sun (such as a piece removed from a less visible area). Never mix different vinyl manufacturers, as lock patterns and color blends will vary.
When Replacement Is Better Than Patch
A professional contractor will often recommend replacing the entire piece of vinyl instead of just repairing a small area.
Extensive Damage or Old Panels No Longer Available
If the damage covers more than 20% of the panel, or if the panel is old and brittle, replacement is necessary. Furthermore, vinyl colors and profiles change over time. If your siding is more than 15 years old, finding an exact match may be impossible, making replacement of the whole piece the only seamless option.
Color Fade Mismatches
Even if the style is identical, vinyl siding fades due to UV exposure. A brand-new replacement panel will look significantly brighter or different than the surrounding weathered panels, creating a highly visible patch. A professional can advise on the best way to minimize the mismatch or suggest replacing a larger, less conspicuous area.
FAQs
“Can I patch vinyl siding myself?”
While homeowners can purchase a zip tool and attempt a repair, it is not recommended for critical sections of the house. The complex techniques required to manage the thermal movement of vinyl—leaving nails loose, maintaining end gaps, and correctly zipping the panel back into place—are often overlooked by amateurs, leading to visible warping or structural failure within a year.
“Will the patch match the rest of the siding?”
An exact match is extremely difficult due to the UV fading of the original siding. Even if you use a piece of brand-new vinyl from the same manufacturer, the replacement panel will likely appear brighter. A professional contractor may suggest strategies such as replacing an entire side of the house to minimize the visual impact or using a spare piece of vinyl that has been stored out of the sun.
“How much does a vinyl siding patch cost?”
The cost for a professional to repair or replace a few damaged vinyl strips typically ranges from $150 to $500, depending on accessibility (height) and the time required to source or color-match the replacement piece. This price accounts primarily for the specialized labor and the contractor’s expertise in ensuring a watertight, warp-free installation.
For a seamless, long-lasting vinyl siding repair that maintains your home’s curb appeal, trust the experts.
Contact Masterpiece Roofing today for a professional, no-obligation siding repair estimate.