
Masterpiece Roofing

How to Install a Roof Vent Boot? DIY & Pro Tips
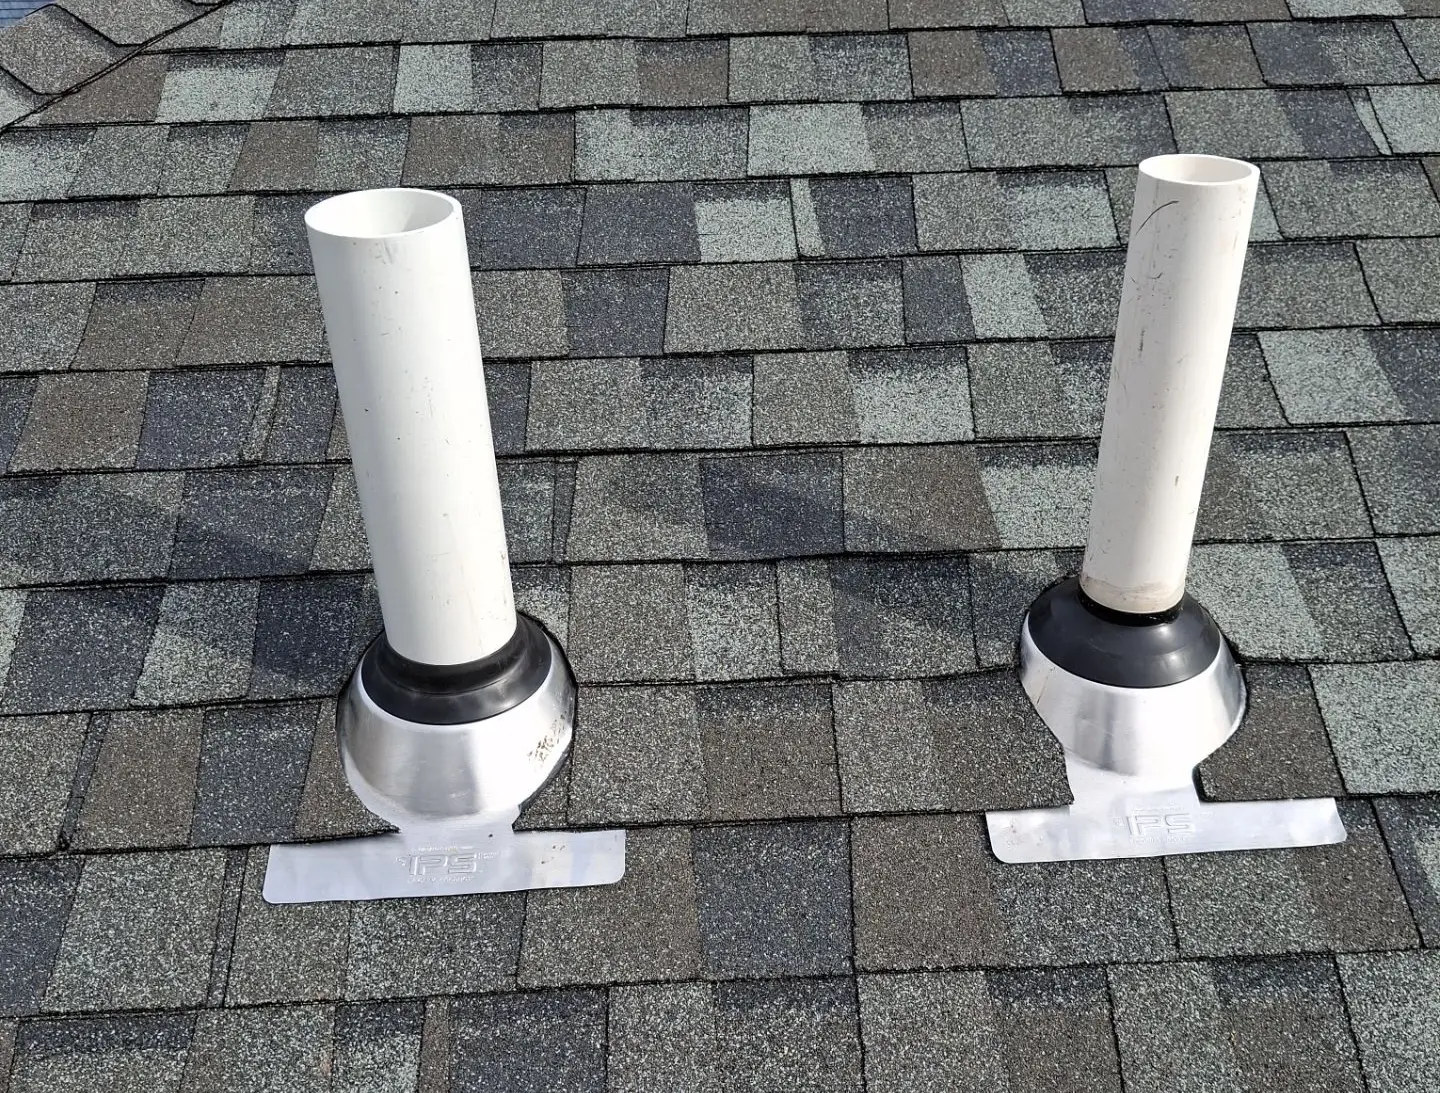
A roof vent boot is a crucial component of your roofing system, designed to prevent water from leaking around the vent pipes that exit your roof. A damaged vent boot is one of the most common causes of roof leaks. While the task of replacing one might seem daunting, it's a project that a prepared homeowner can tackle with the right tools and a clear plan.
Tools and materials you’ll need
Before you get started, make sure you have all the necessary supplies:
New Roof Vent Boot: Ensure it's the correct size for your vent pipe.
Pry Bar or Flat Bar: For removing the old vent boot.
Hammer
Utility Knife or Shingle Cutter
Roofing Nails: Hot-dipped galvanized nails are rust-resistant and ideal.
Roofing Cement or Sealant: A sealant that is specifically made for roofing applications.
Safety Gear: Gloves and a safety harness are recommended when working on a roof.
Step 1 – Remove the old or damaged vent boot
Begin by gently prying up the shingles around the vent boot, being careful not to crack them. Work slowly and methodically, lifting the shingles enough to expose the nails holding the old boot in place. Use your pry bar to remove the nails, and once all are removed, you can carefully lift the old vent boot off the pipe and roof.
Step 2 – Prepare the roof vent area for installation
With the old boot removed, take a moment to inspect the area. Check the surrounding shingles and the roof deck for any signs of water damage, rot, or mold. If you find any significant damage, you should repair it before proceeding. Use a putty knife or a wire brush to scrape away any old roofing cement or debris, creating a clean, flat surface for the new vent boot.
Step 3 – Install and secure the new vent boot
Slide the new vent boot over the vent pipe and down onto the roof. Make sure it sits flush against the roof deck and is aligned correctly. The flange of the boot should be positioned so that the shingles above it overlap its top edge, allowing water to flow over it naturally. Secure the vent boot by nailing the top and side flanges into the roof deck. Avoid nailing the bottom flange, as this is where the water needs to drain.
Step 4 – Seal properly to prevent water leaks
This is the most critical step for ensuring a leak-proof installation. Apply a generous layer of roofing cement over every nail head on the flange. Next, apply a bead of cement along the seams where the shingles overlap the new vent boot. This creates a watertight seal that will protect your roof for years to come.
Pro tips for installing roof vent boots safely
Work on a Dry Day: Never attempt this job when the roof is wet or when rain is expected. A dry, clear day is essential for safety and a proper seal.
Work from the Bottom Up: When laying new shingles or replacing old ones, always start at the bottom of the roof and work your way up.
Secure Your Ladder: Ensure your ladder is stable and placed on solid, level ground. A ladder stabilizer can add an extra layer of safety.
Wear Appropriate Footwear: Wear shoes with a soft, rubber sole for maximum grip on the roof.
For peace of mind and professional results, consider hiring Masterpiece Roofing. Our experts can handle all your roofing needs, ensuring your home is protected from the elements.
Looking for a trusted roofing expert? Contact us today for a free consultation and estimate!

Office: 1248 Highland St, Holliston, 01746 MA
(508) 882-6080
Email: office@buttonmasterpieceroof.com
Site: www.masterpieceroof.com
Assistance Hours
Mon – Fri 8:00am – 4:00pm