
Masterpiece Roofing

How to Replace a Roof Vent? Easy DIY Guide
A properly functioning roof vent is essential for a healthy home. It helps to regulate attic temperature, prevent moisture buildup, and extend the life of your roof. Over time, vents can become cracked, damaged, or start to leak, making replacement necessary. While it's a job that requires caution, with the right tools and a step-by-step guide, it's a project many homeowners can tackle.
When should a roof vent be replaced?
You should consider replacing a roof vent if you notice any of the following signs:
Cracks or Damage: Vents, especially plastic ones, can become brittle and crack from sun exposure.
Leaks: Water stains on your attic ceiling or around the vent are a clear sign of a leak.
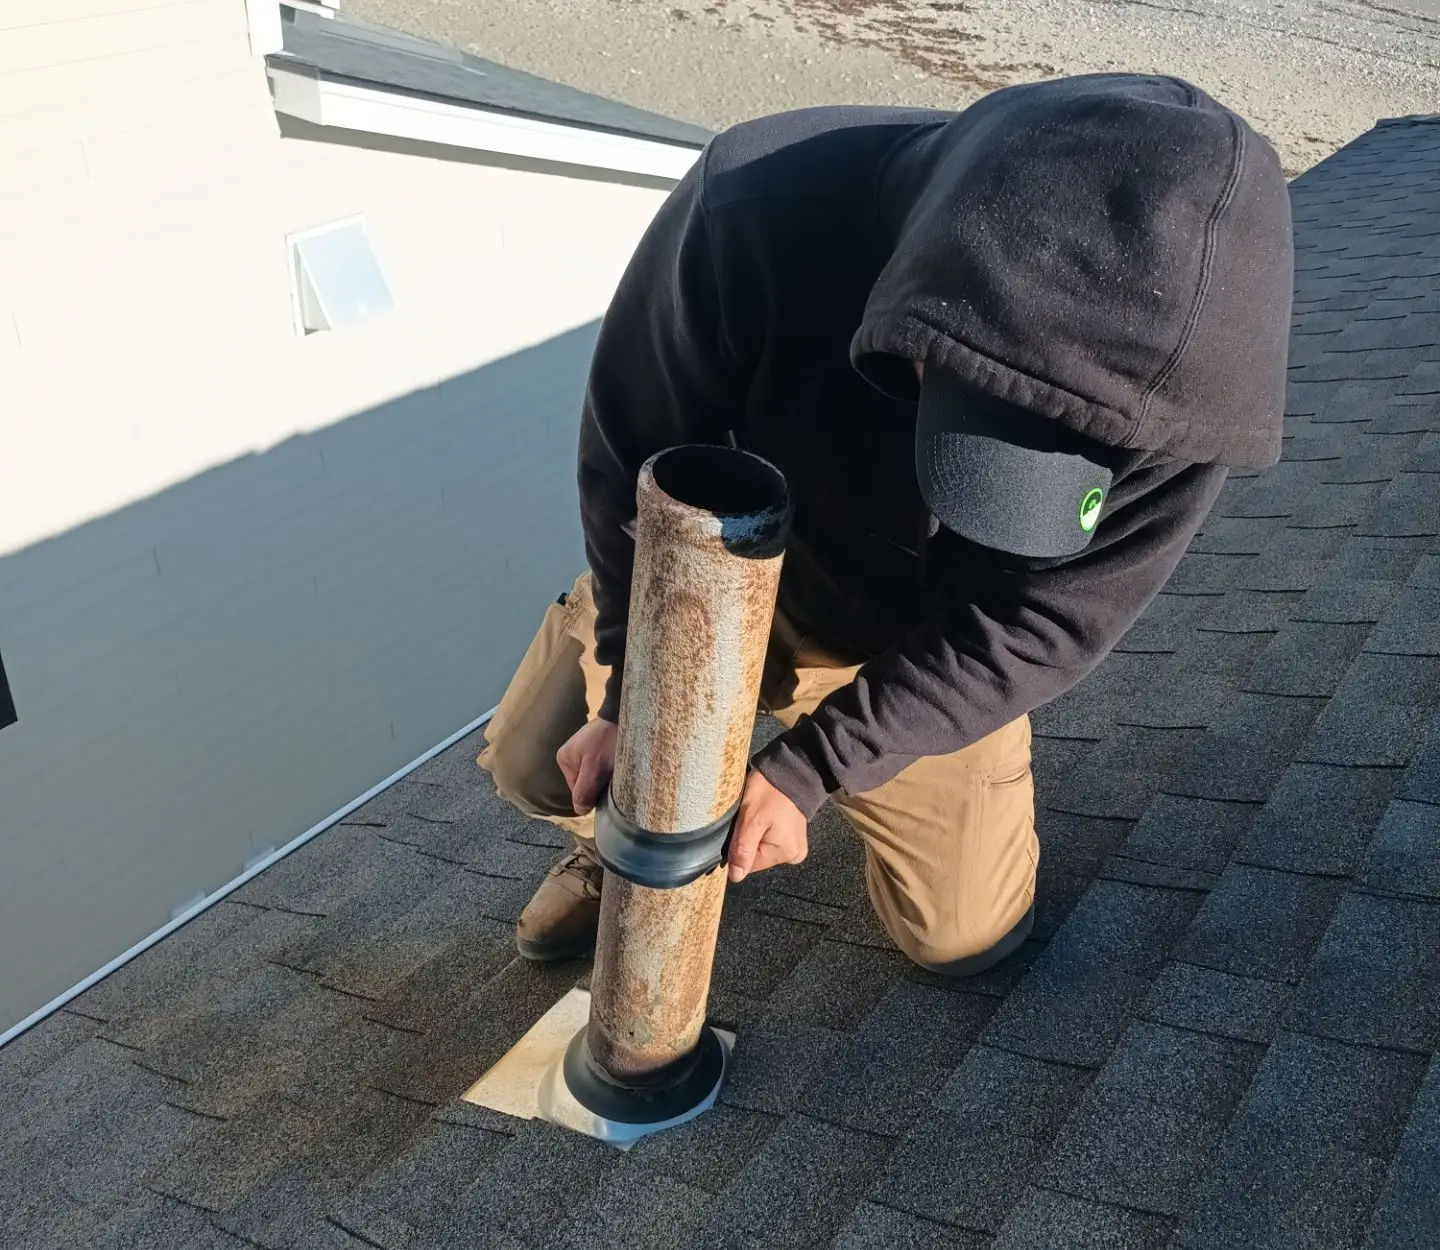
Rust: Metal vents can rust over time, weakening their structure and leading to leaks.
Visible Wear: If the vent looks old, faded, or is missing pieces, it’s probably time for a new one.
Tools and materials you’ll need
Before you start, gather all your supplies. You'll need:
New Roof Vent: Ensure it matches the size and type of the old one.
Pry Bar or Flat Bar: For removing the old vent.
Hammer: For nailing.
Utility Knife or Shingle Cutter: For trimming shingles.
Roofing Nails: Shingle nails are best.
Roofing Cement or Sealant: A tube of sealant for waterproofing.
Safety Gear: Work gloves and a fall protection harness if you are working at heights.
Step 1 – Remove the old roof vent carefully
Begin by carefully prying up the shingles around the old vent using a pry bar. Be gentle to avoid damaging the surrounding shingles. Once the nails are exposed, pull them out. With all the nails removed, you can lift the old vent off the roof.
Step 2 – Inspect and prepare the roof area
With the old vent gone, inspect the decking and the area underneath. Check for any water damage or rot. If you find any, you may need to repair or replace a section of the decking before you install the new vent. Scrape away any old sealant or residue to create a clean surface.
Step 3 – Install the new roof vent properly
Place the new vent in the same spot where the old one was. Make sure it sits flat against the roof deck and is properly aligned with the opening below. Secure it by nailing it in place with roofing nails. You should nail it at the top and bottom flanges.
Step 4 – Seal and secure the vent to prevent leaks
Apply a generous amount of roofing cement underneath the new vent, as well as on top of the nail heads and any seams. You'll also want to apply a bead of sealant along all sides of the vent where it meets the shingles. This is a critical step to ensure a watertight seal.
Pro Tips for long-lasting roof vent replacements
Work on a Dry Day: Never attempt to replace a roof vent when the roof is wet or it is raining.
Use the Right Nails: Use hot-dipped galvanized roofing nails. They are rust-resistant and designed for roofing.
Seal Everything: Don’t be shy with the roofing cement. It is your primary defense against leaks.
Consider a Professional: If you're not comfortable working on a roof or if the damage is extensive, it's always best to call a professional.
For more complex roof repairs or installations, trust the experts at Masterpiece Roofing. Contact us today for a free consultation and estimate!

Office: 1248 Highland St, Holliston, 01746 MA
(508) 882-6080
Email: office@buttonmasterpieceroof.com
Site: www.masterpieceroof.com
Assistance Hours
Mon – Fri 8:00am – 4:00pm