Everything you need to know about Torch-down roofing
Torch-down roofing is a durable and weather-resistant roofing system commonly used for flat or low-slope roofs. It is favored for its waterproofing abilities and long lifespan, making it an excellent choice for commercial and residential properties. Here’s everything you need to know about torch-down roofing, from installation to repair.
What is Torch-down roofing?
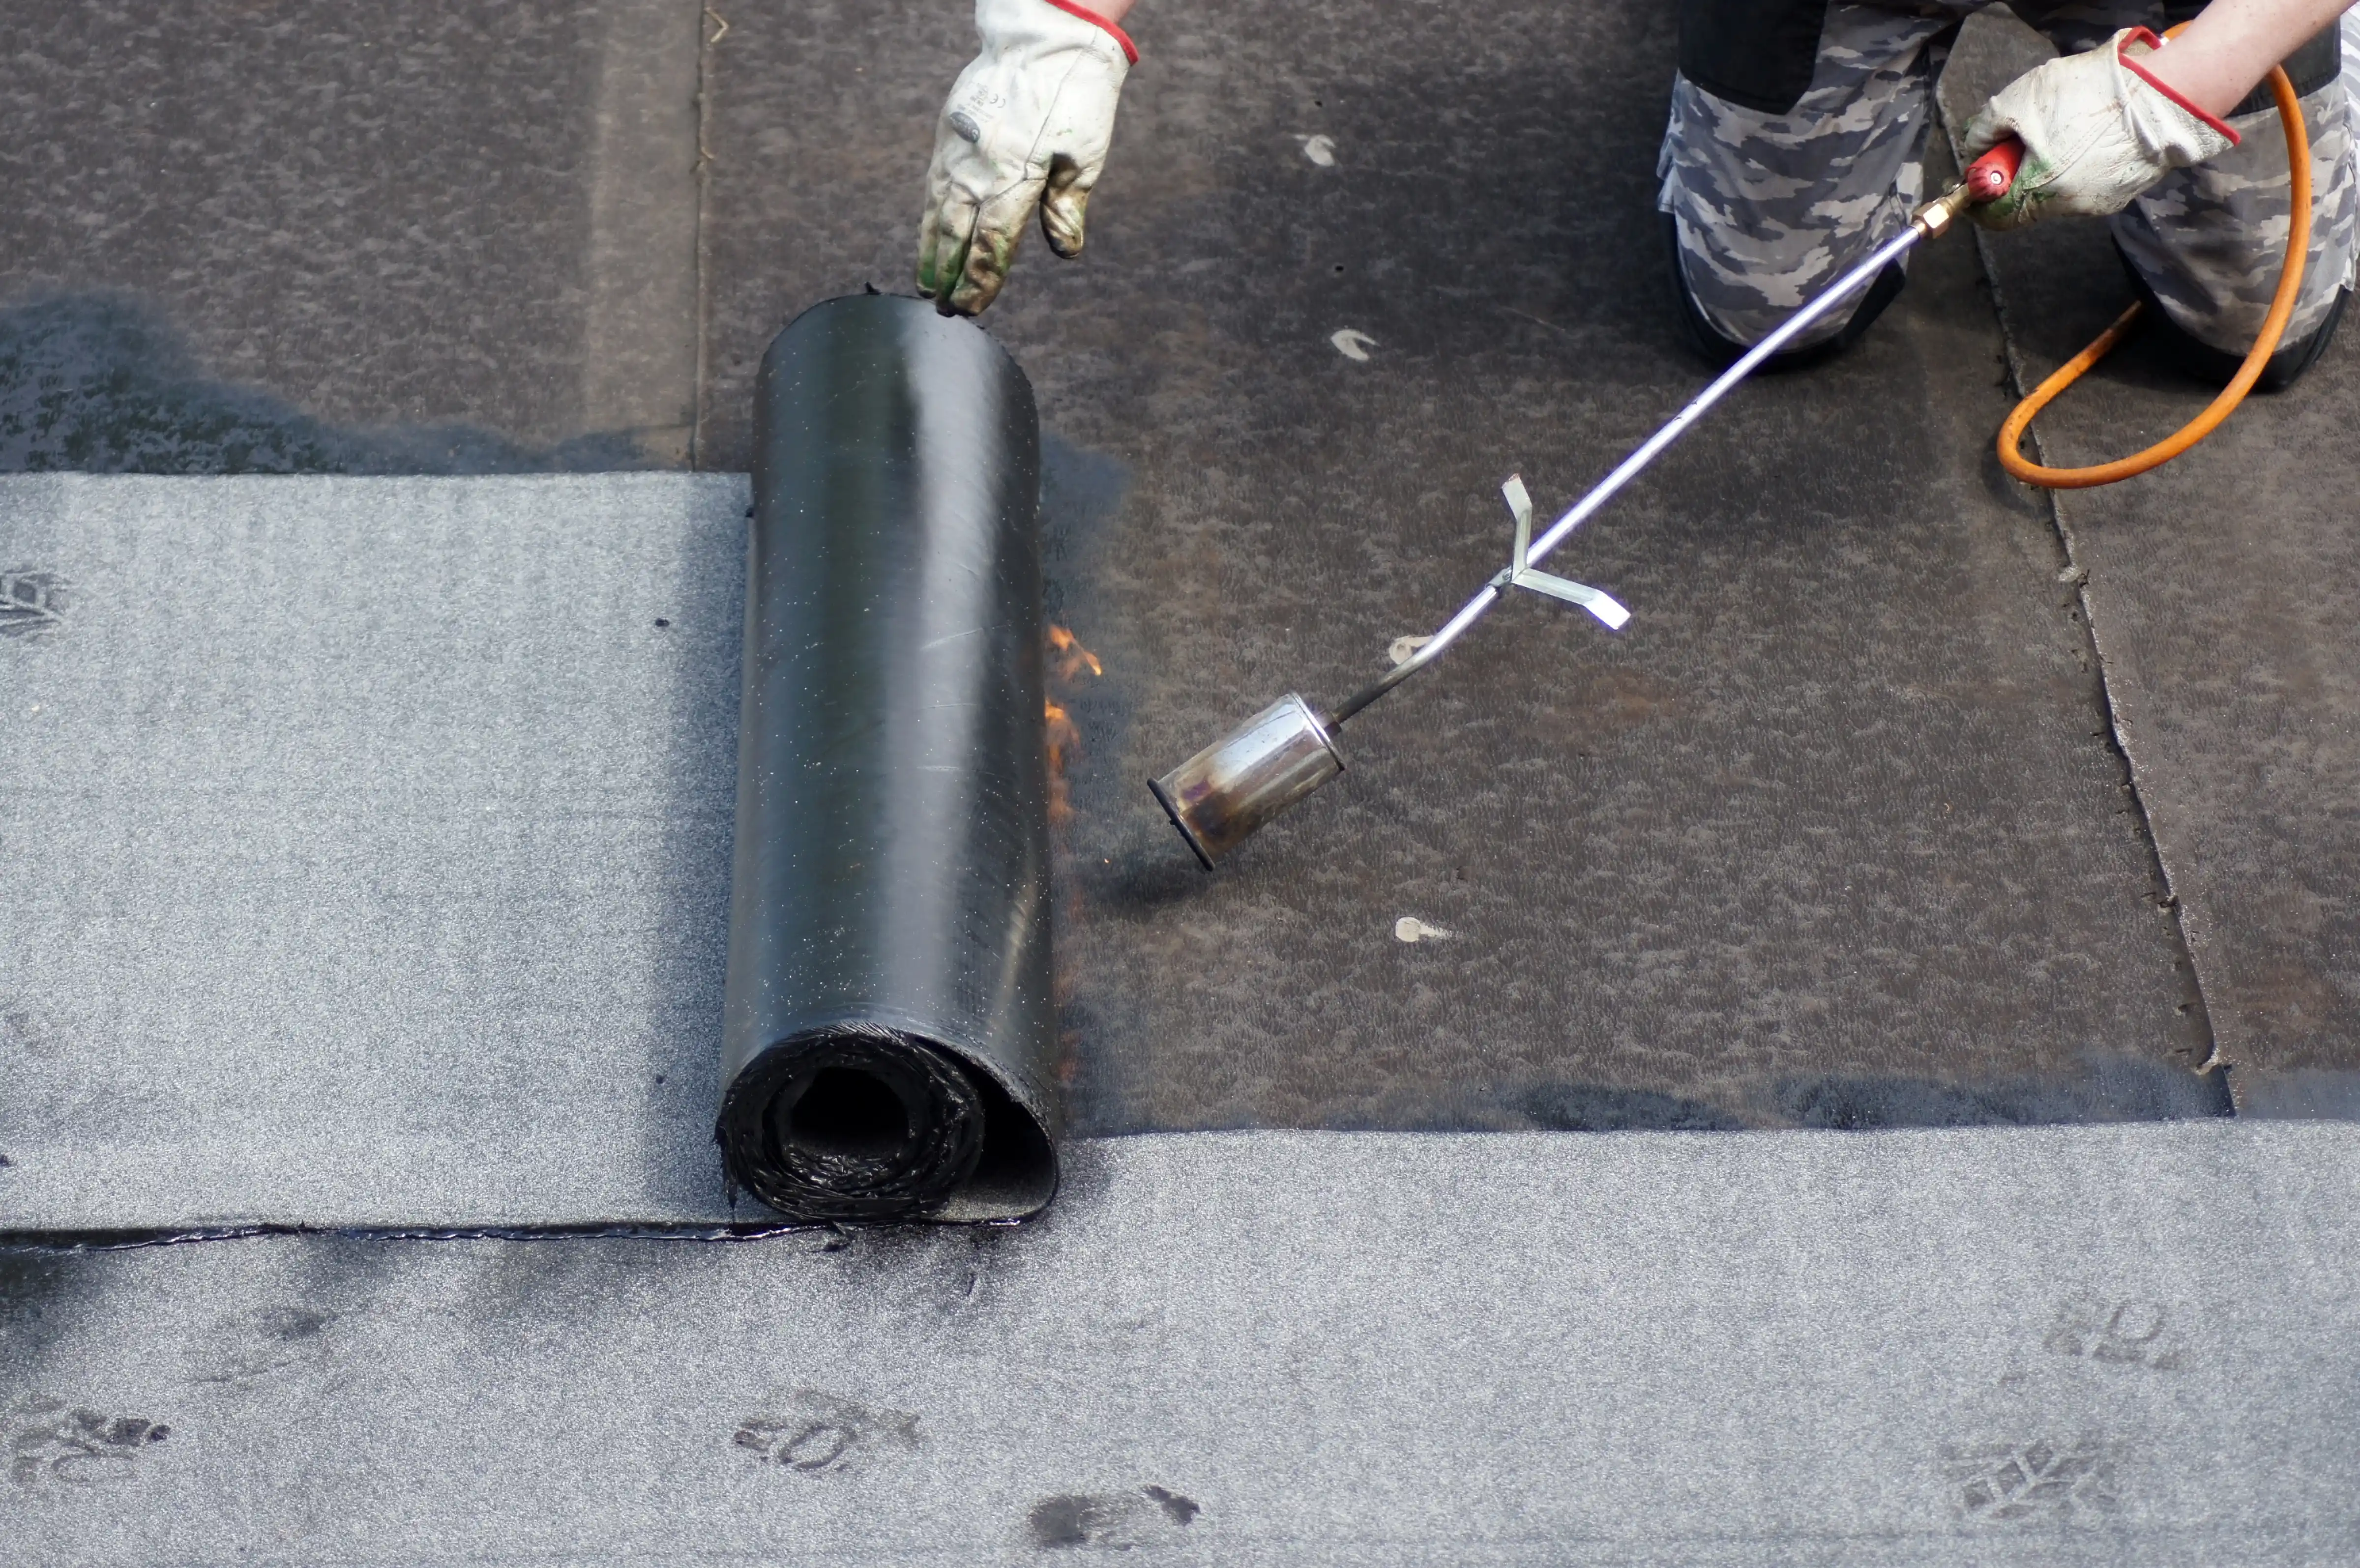
Torch-down roofing, also known as modified bitumen roofing, is a type of roofing membrane made from bitumen, rubber, and resins. The installation process involves using an open-flame torch to adhere layers of the material to the roof surface, creating a seamless and watertight barrier.
Benefits of Torch-down roofing:
Superior waterproofing – Ideal for preventing leaks on flat or low-slope roofs.
Durability – Resistant to UV rays, temperature fluctuations, and heavy foot traffic.
Long lifespan – Can last 15 to 20 years with proper maintenance.
Flexible and adaptable – Expands and contracts with changing weather conditions to prevent cracks.
How to apply Torch-down roofing?
Applying torch-down roofing requires precision and professional expertise. The process includes:
Surface preparation – Cleaning the existing roof surface to remove debris and ensure proper adhesion.
Laying the base sheet – A modified bitumen base sheet is applied to create a stable foundation.
Torch application – The roofing membrane is heated with a propane torch to fuse it onto the base sheet.
Seam sealing – Overlapping sections are heat-welded together to form a seamless, waterproof layer.
Final inspection – Ensuring the entire surface is properly sealed with no weak spots or bubbles.
How to install Torch-down roofing?
Proper installation is crucial for the longevity of a torch-down roof. The installation process involves:
Measuring and cutting the membrane – Pre-cutting sheets to fit the roof dimensions.
Installing insulation (If required) – Some roofs require insulation boards for added thermal efficiency.
Rolling out the modified bitumen membrane – Aligning the sheets correctly before heating.
Torching the membrane – Using a propane torch to heat the underside of the material, allowing it to adhere to the surface.
Overlapping seams – Ensuring each layer is properly bonded for a watertight seal.
Inspecting the roof – Checking for proper adhesion and potential weak spots.
Safety considerations:
Torch-down roofing involves an open flame, so fire safety precautions must be followed.
Only experienced professionals should perform the installation to avoid improper adhesion and potential fire hazards.
How to repair a Torch-down roof?
Over time, torch-down roofs may develop minor wear or damage. Here’s how to repair them:
Inspect the roof – Identify cracks, blisters, or leaks.
Clean the damaged area – Remove dirt and debris for better adhesion.
Apply roofing cement – Seal small cracks or gaps using roofing cement.
Heat and reapply a patch – Cut a new piece of modified bitumen, heat it with a torch, and adhere it over the damaged section.
Re-seal the edges – Ensure all seams are properly bonded to prevent future leaks.
For major repairs or aging torch-down roofs, a full replacement may be necessary to maintain waterproofing and durability.
At Masterpiece Roofing, we specialize in professional torch-down roofing installation, maintenance, and repairs to keep your roof in optimal condition.
Need expert torch-down roofing services? Contact Masterpiece Roofing today for a consultation!
Office: 1248 Highland St, Holliston, 01746 MA
(508) 882-6080
Email: office@buttonmasterpieceroof.com
Site: www.masterpieceroof.com
Assistance Hours
Mon – Fri 8:00am – 4:00pm

